Kalt 30 Baron (19##)
 |
Specification:
|
|||||||||||||||
| Documents: | ||||||||||||||||
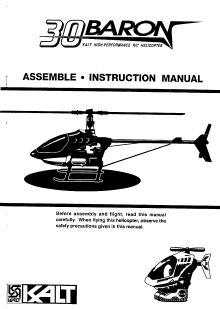 30 Baron instruction manual - Full manual covering all power versions / 2 stroke / 4 stroke / electric |
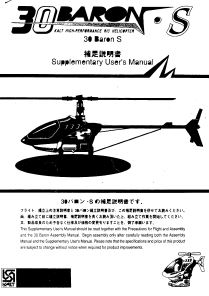 30 Baron S supplementary instructions - Additional information for the S version |
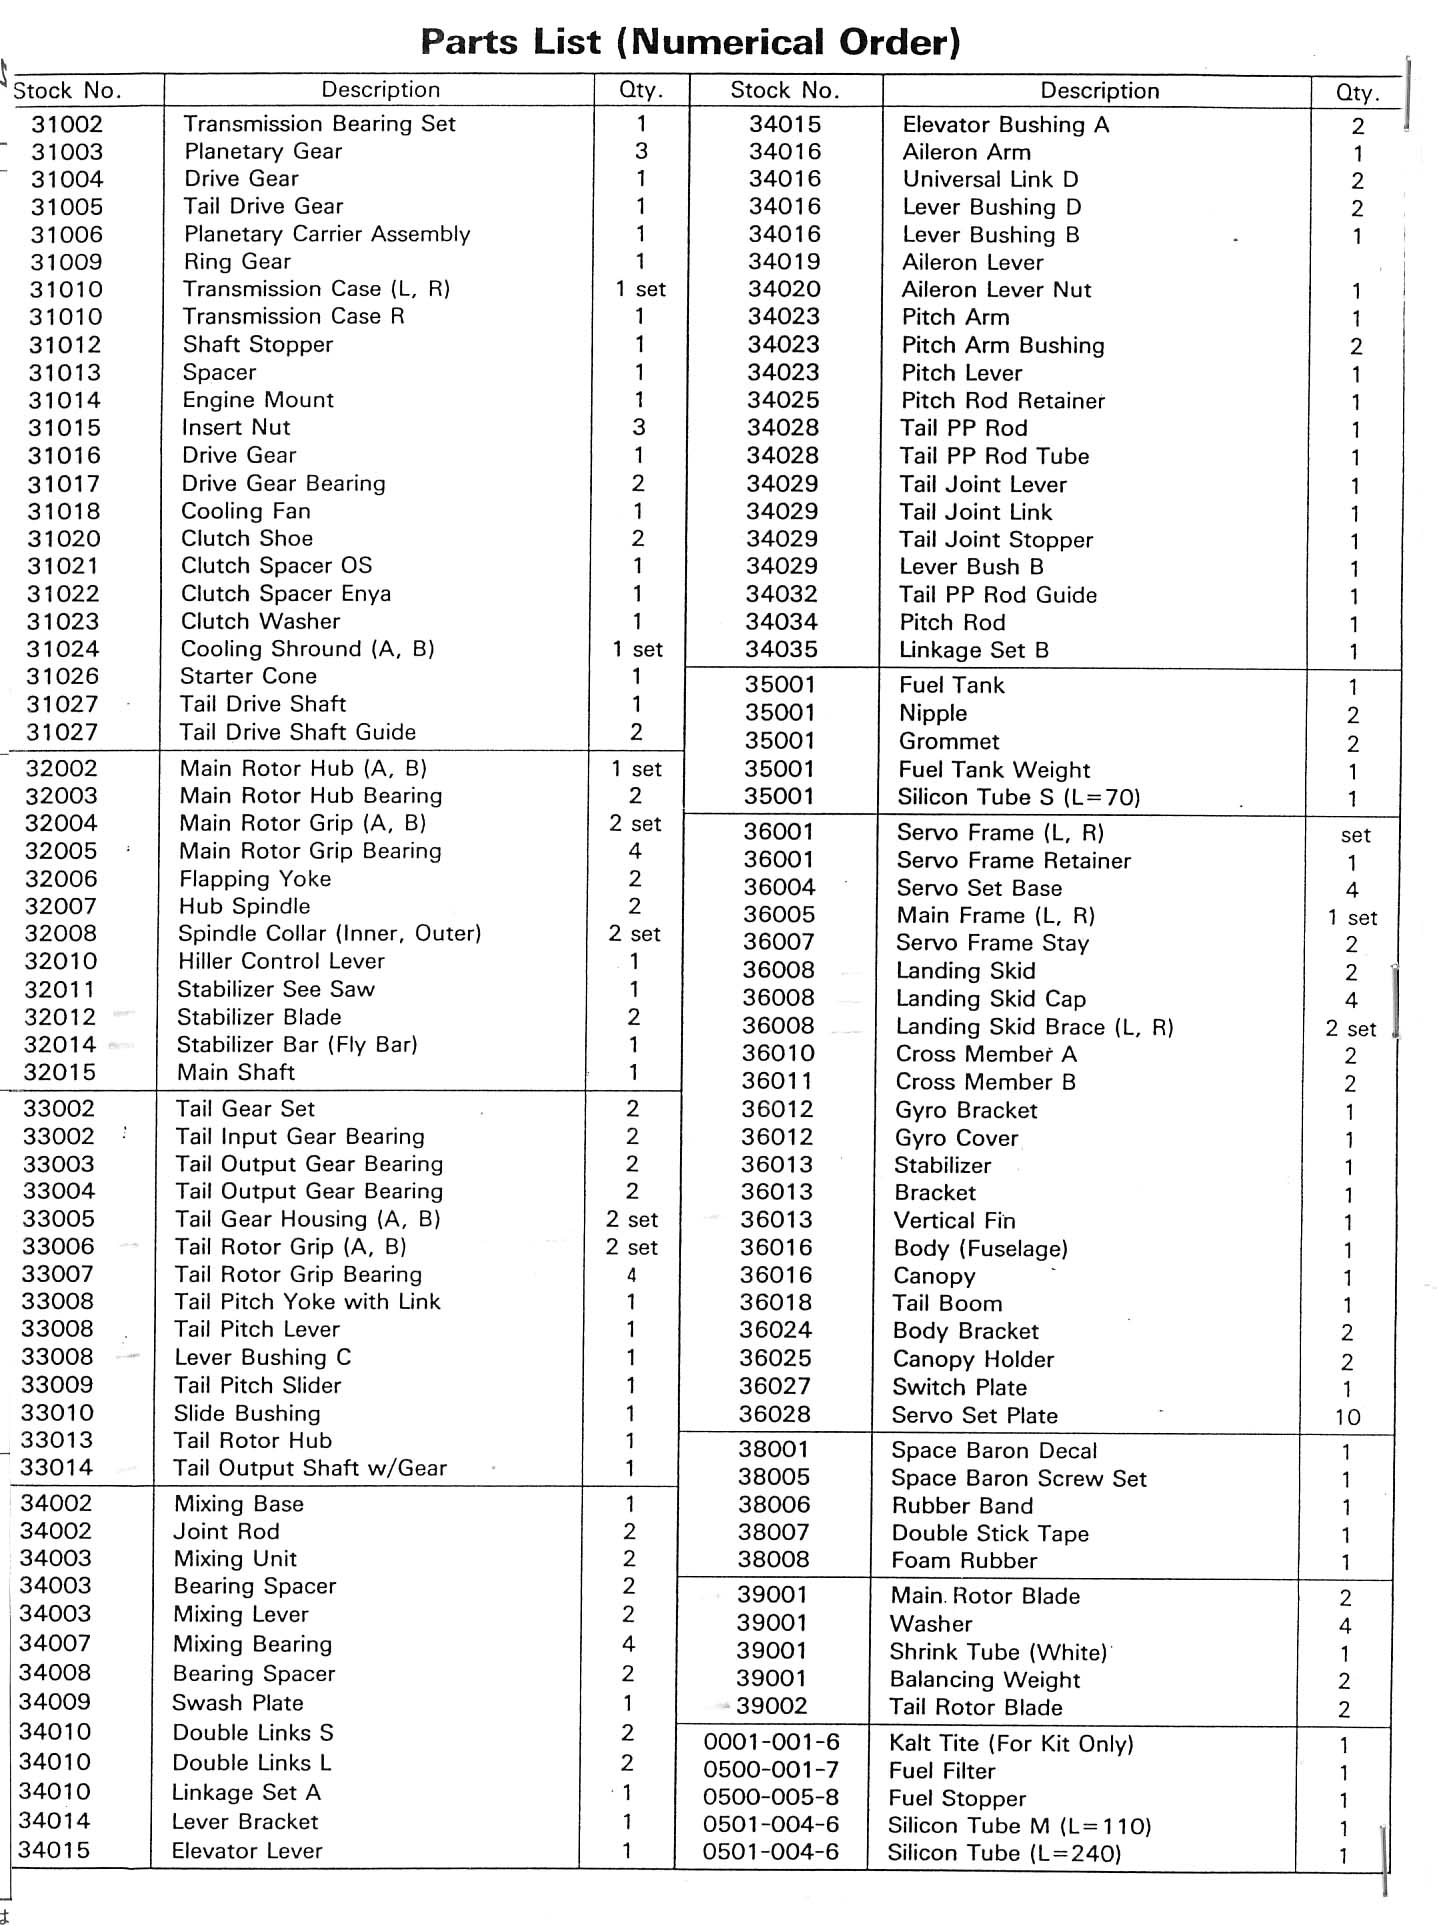
 30 baron parts cross reference guide |
    |
|||||||||||||
|
|
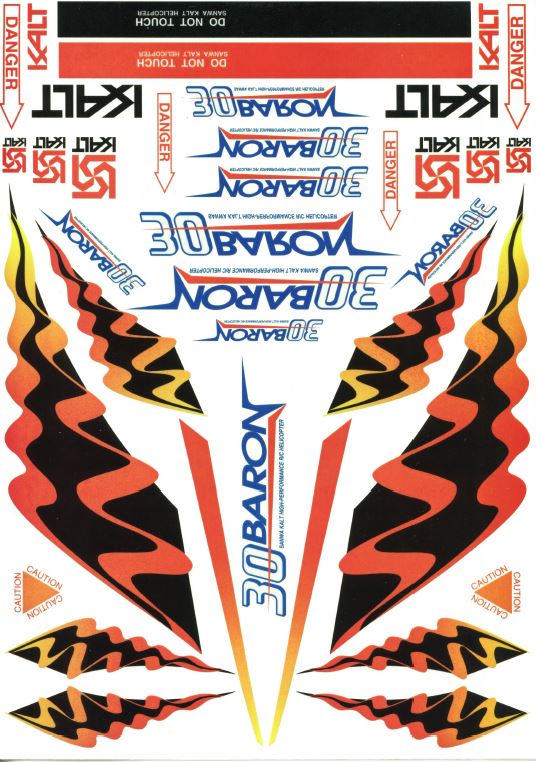
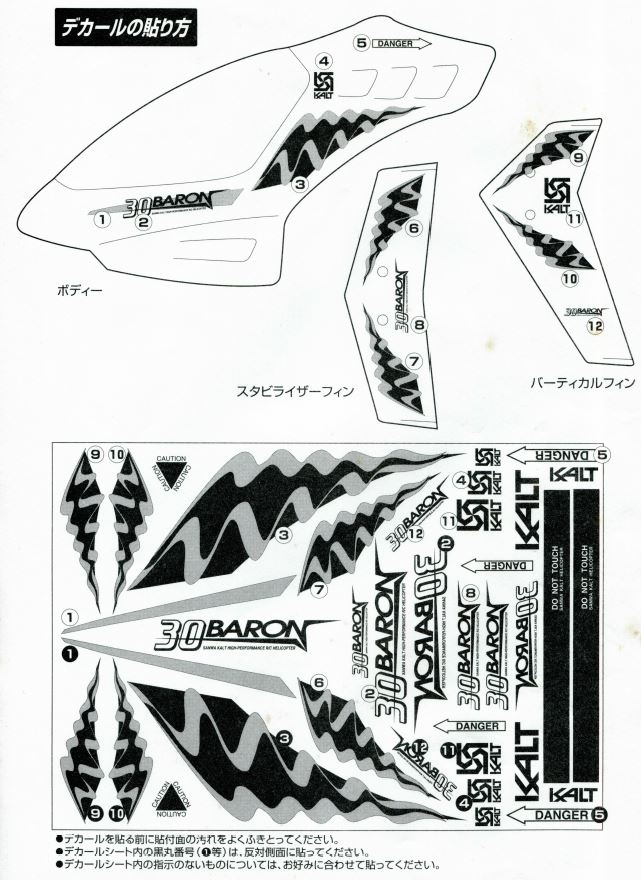
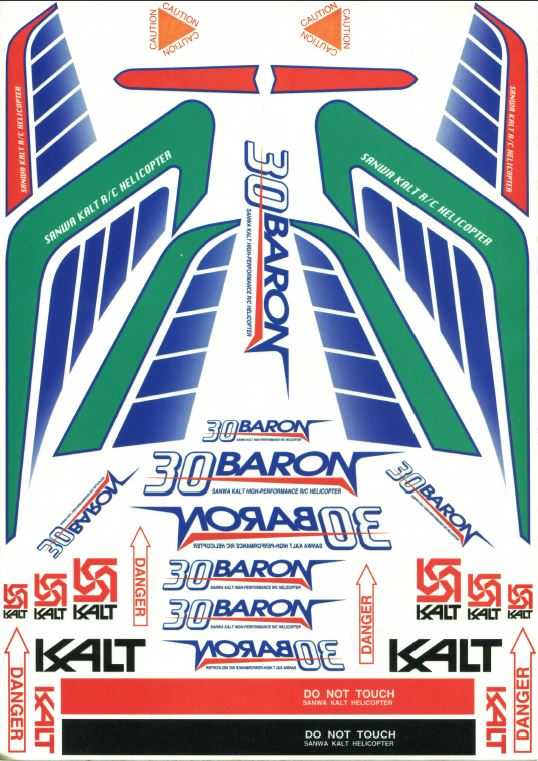 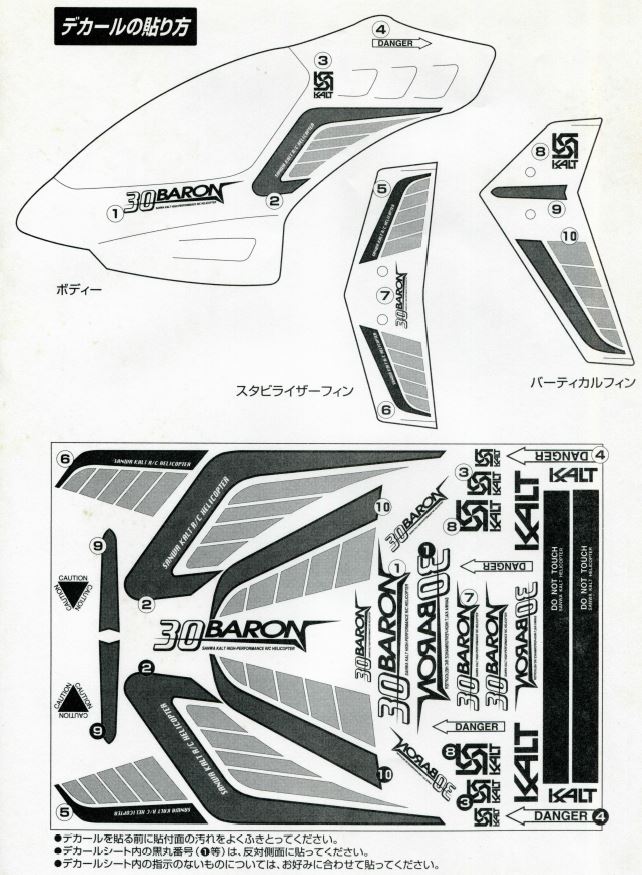 Decals(25 MB) Decals(25 MB) |
|||||||||||||||
| Reports | ||||||||||||||||
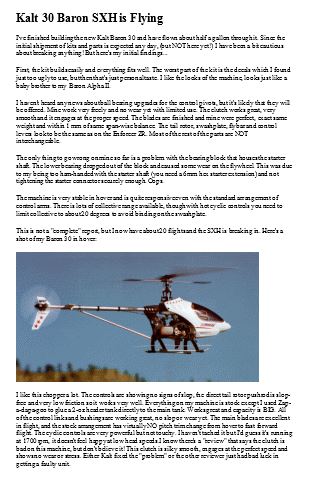
30 Baron SXH review - Review in 1996 by unknown author. |
 30 Baron review - Review in 1997 from W3MH. |
 Anleitung Baron30 |
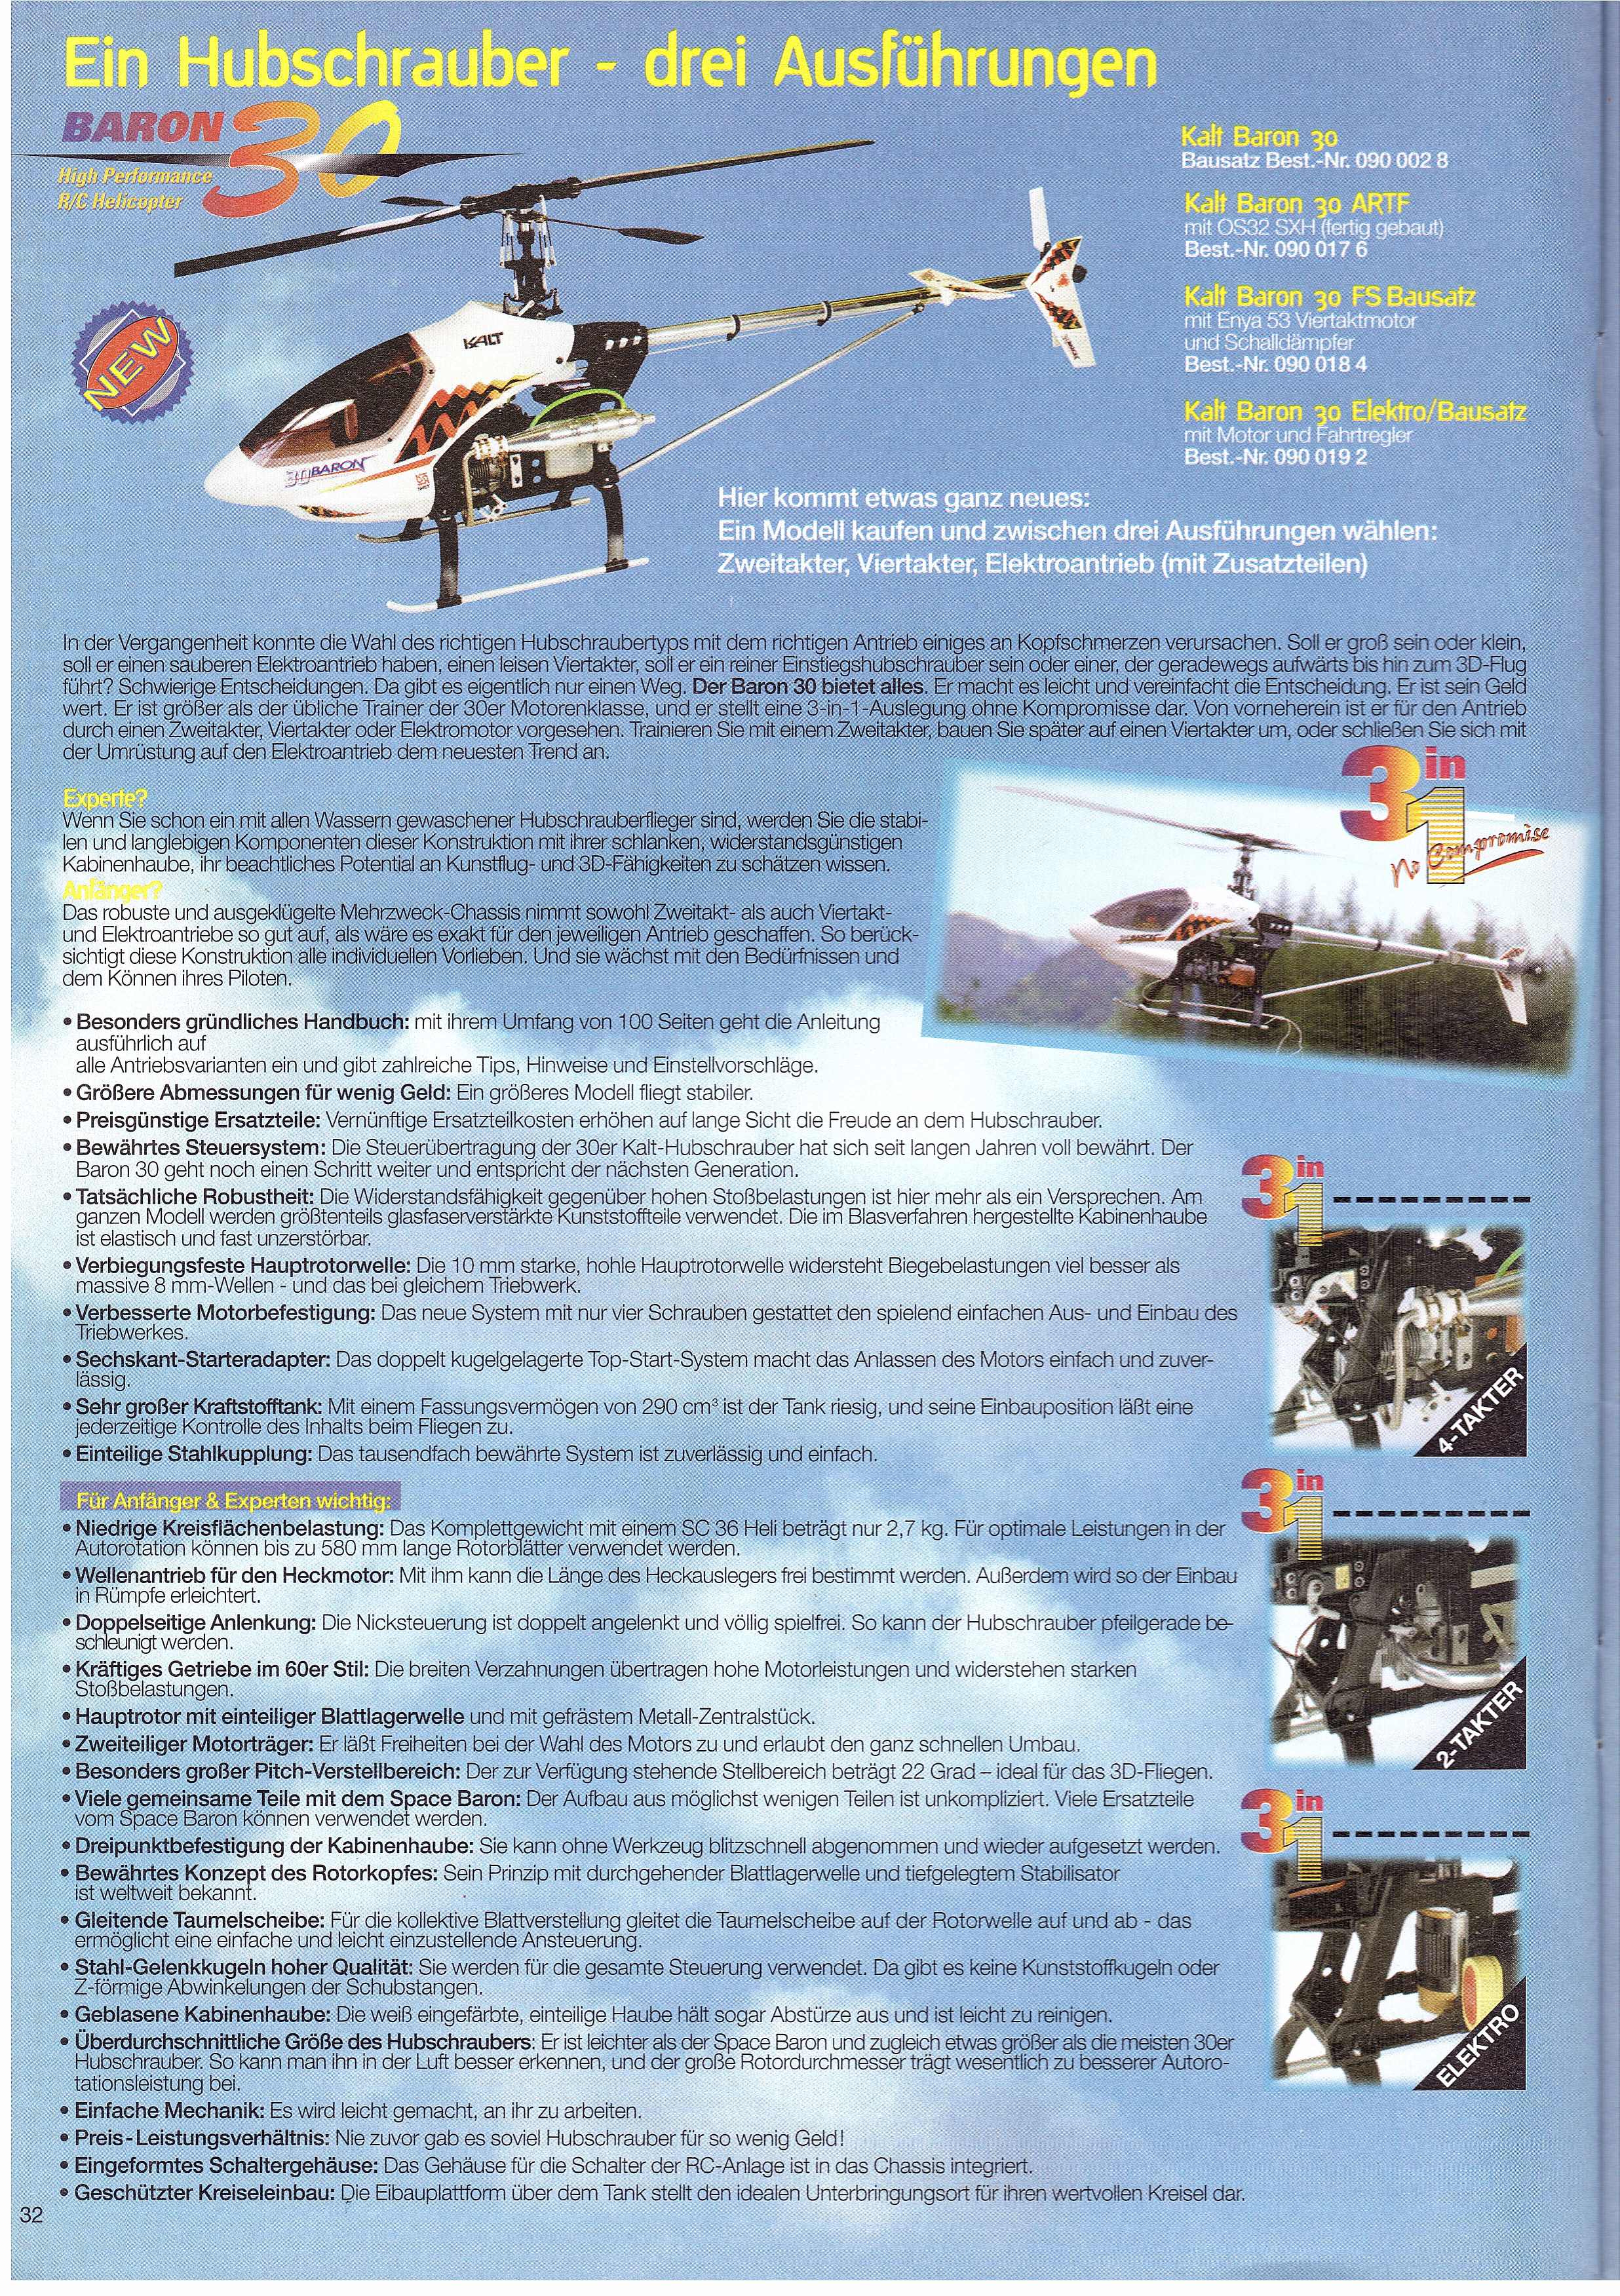 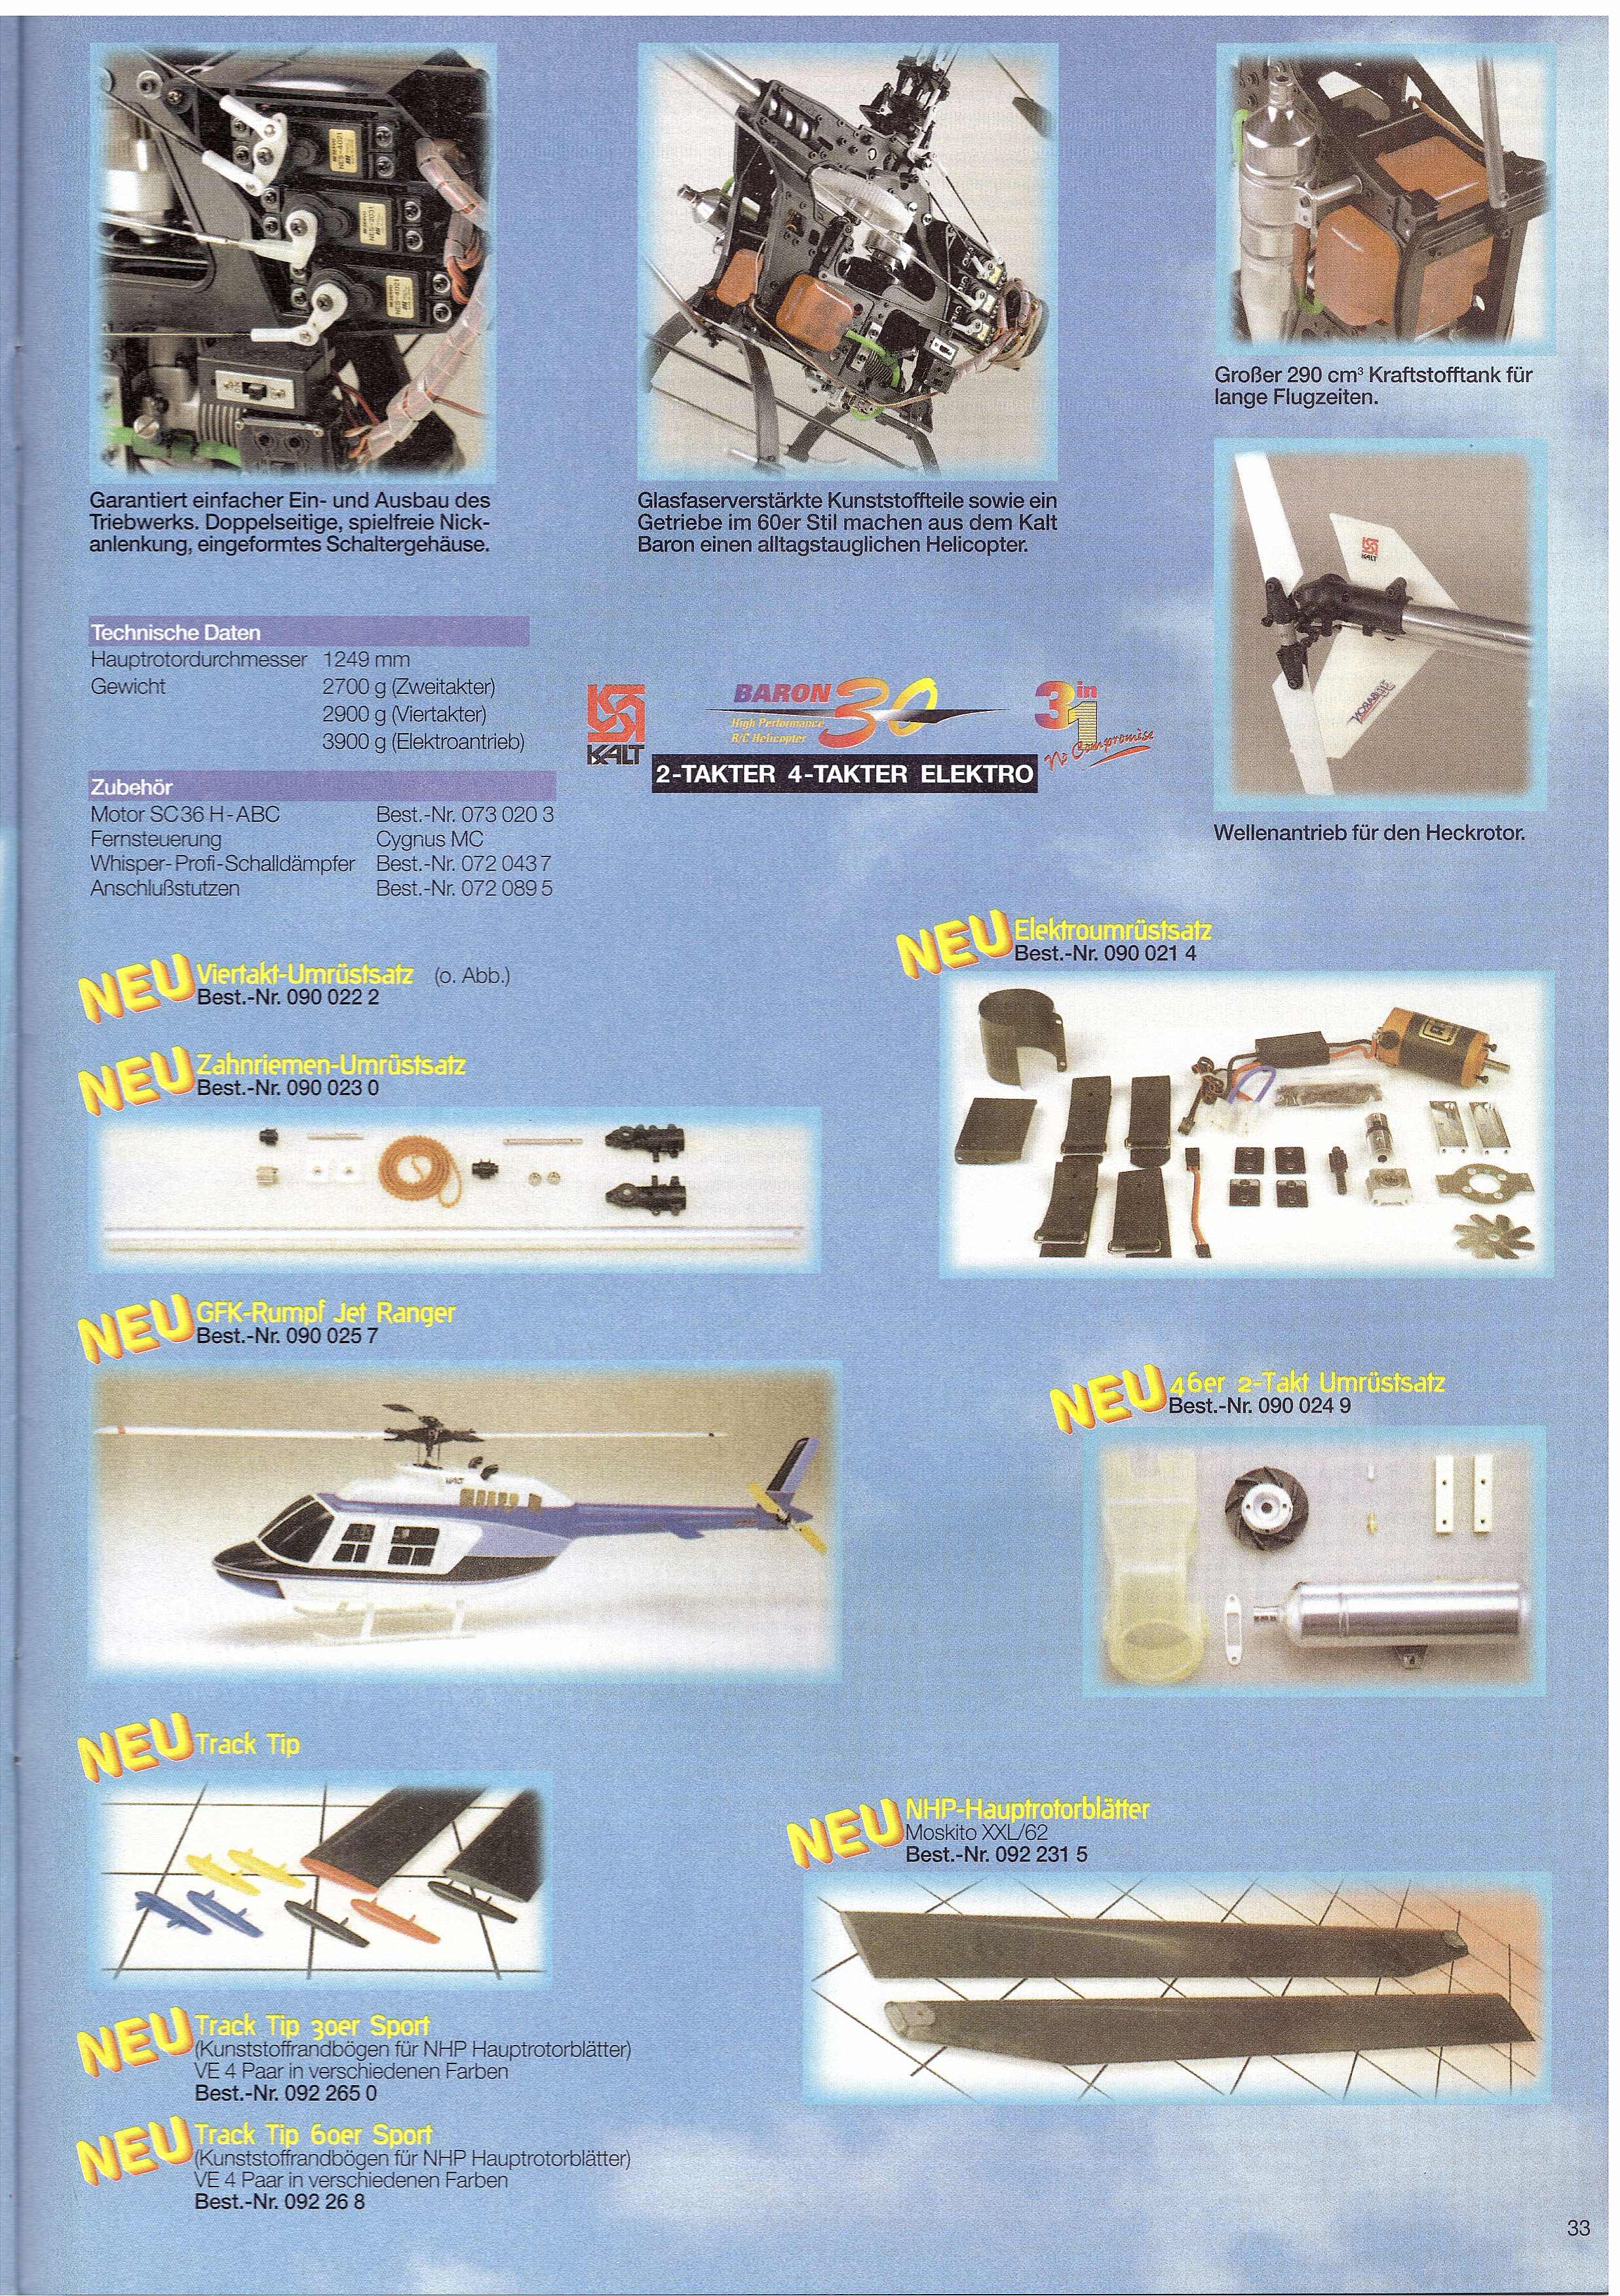 german advert |
|||||||||||||
 |
 |
 |
 |
|||||||||||||
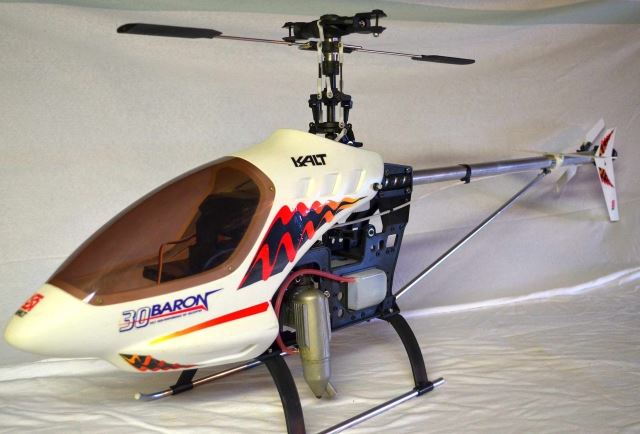
Kalt Baron 30 MX
The first Baron 30 was an upgrade to the Baron 20 MX. Equipped with the same bend frames and the Baron 20 rotorhead.


Kalt 30 Baron ( plastic frame)


The following documentation is available for the various 30 baron versions with plastic frames.
30 Baron Main blade instructions - Specific instructions regarding Kalt supplied blades
30 Baron Rudder pushrod addendum - After market upgrade.
The Kalt 30 Baron Electric Heli
Few people know that Kalt produces an electric version of their popular Baron heli. Brad Hills takes us on a tour in this review.
|
|
Specs:
|
")
Introduction
The Kalt 30 Baron electric conversion is one of the first mass produced larger electric helicopters. It is built around the AstroFlight 40 cobalt sport motor running on 20 cells. It is an entry level machine, larger and more robust than '05' size machines. Since I'd already built the smaller helis, I wanted to try a bigger electric.
Approximate costs for this kit are: heli - $330-350; conversion kit - $199-225; motor - $110-125; ESC - $100; gyro - $100-300 depending on type, mechanical or piezo.
Kit Contents
The basic 30 Baron comes in two versions: kit and pre-built. This review is of the kit.
The kit contents Electric conversion parts The kit contains all parts for the glow version - parts which will not be used. It is not possible at this time to buy a kit with just the electric version. Some sub-assemblies come pre-built, but most are fabricated from the individual parts.
The Astro 40 cobalt motor mated to the Kalt motor mount. The unfinished canopy next to the motor and ESC for size reference. The electric conversion kit includes the following:
- Spur gear for main drive
- Mounting system for spur gear
- 3 piece drive shaft transferring power from the motor to the spur gear
- Velcro drive battery mounting straps
- ESC mount
- Motor heat sink (radiator)
- Motor cooling fan
- Motor mount system
- Special main rotor blades
- Decals
The gray colored blades on top are for the electric conversion. The stock, white colored blades are on the bottom. Kalt provides both sets of blades in the electric kit.The conversion main blades differ from the stock blades in 2 important ways: they are flat-bottomed, and they are 0.25 oz heavier. These 2 changes increase stability. The main blades come completely finished with root reinforcements installed.
")
")
")
")
")
Construction
The building instructions are generally clear, with the electric conversion being presented on separate pages. However, many diagrams show several steps. Be sure you understand the whole page, and proceed carefully. Pay particular attention to which holes are being used. There are a few typos, and no check-off boxes.
Parts fit is quite good, and everything goes together true. I only made one change: I routed the rudder pushrod to the outside of the left frame, and through a small round bracket, instead of between the frames. This provided a better alignment with the servo, and more support for the pushrod.
Shots of the rotor head and equipment installation The motor mount system allows a very clean and simple installment and alignment. It consists of a bracket bolted to the motor face, shaft end. Two side bars are bolted to the bracket, parallel to the motor. These side bars are then bolted to the side frames. Only 4 bolts need to be removed to drop the motor out the bottom of the machine.
Battery installationThe drive batteries are held in place with Velcro straps. They mount horizontally along the frame sides and external to the frames. The straps provide a secure hold.
The set-up instructions are clear and easy to folow. My only complaint is that Kalt provides ball links which are front and back-sided. That is, they only go over a ball in one direction. This makes set-up unnecessarily difficult and irritating because you cannot adjust a pushrod by a half-turn - you must do a complete turn. That is often too much of a change in length, requiring fiddling at the transmitter end of things.
Some of the metal screws are too soft. Be careful when tightening the smaller ones: they can round out or strip. This is particularly noticeable with the rudder bell-crank retaining screw by the tail rotor.
The conversion kit I bought didn't have all the screws and bolts required for the conversion. When contacted, Kalt wasn't aware of the problem and took no action to correct it. My local hobby shop, Ken's Discount Hobby, just gave me what I lacked. I don't know if this problem has been corrected with current conversion kits.
Shots of the finished heli.
Total weight came in at 8 lbs 9 oz with 2.5 lbs coming from the 1800 mAh drive batteries. The struts are very tough, and handled the weight well.
")
")
")
")
")
")
")
Flying
The flying instructions are very basic. If you are a beginner, get help from someone experienced.
The AstroFlight 40 provides plenty of power. The machine is quite stable and easier to hover than the smaller and lighter '05' size helis. Electric power makes for a nice quiet helicopter with virtually no vibration. With 1800 mAh packs I can get 4-7 minutes of hover. I live at 4500 feet altitude, and weight is a big factor for helis here. After flying for a while I found I prefered the 1100 mAh packs for their lighter weight.
We have had terrible flying weather the past 2 months, so the heli is not yet trimmed for forward flight, hence I cannot give those duration times.
I am sure the current draw at full throttle is quite high. I haven't dared to measure it since the rotor spinning at 1100 rpm scares me. It is not usually a good idea to strap a heli down and spin the rotor at full throttle.
Recommendation
Kalt has done a good job of keeping the conversion simple and easy. Anyone with moderate building skills will be able to construct this kit. A beginner should not attempt final set-up and flying without competent help.
One should keep in mind this is an entry level machine, not contest level. Don't expect bearings on all control linkages, and there is a lot of plastic.
If you are attracted to helis, and don't care about all-out 3-D aerobatics, this machine is worth considering.