I first became aware of this unit via a posting on the Stuka Stunt Forum. This, in turn, led me to threads on the EZoneMag Forum by 'JMP_Blackfoot'. This was Jean-Marie Piednoir jpiednoi@club-internet.fr, of Paris, who's company JMP Products produces various electronic devices, including timers to control electronic speed controllers (ESC) originally for electric F/F models. Jean-Marie had been encouraged to produce a similar device for electric C/L models and was seeking some input on what was required. As you might expect, everybody wanted something different!
The unit as described seemed to be exactly what I needed, so I obtained a unit from Jean-Marie. The cost was $25 and J-M can accept payment by PayPal to the address above. J-M is still seeking input, but I think the current version as presented here is just about right.
Note that the timer will work with any motor, regardless of size or type, because it controls the speed controller. Obviously, you must use the correct ESC for the motor. This also covers the question of what happens if you should crash the model, because the correct controller will sense any overload and stop the motor.
The whole sequence is started by pressing the button for more than 2.5 seconds which ensures that you can't start it accidentally. If you have set the first speed to zero, the motor will kick to confirm that the cycle has started. If you want to stop the motor at any time, you can do this by simply pressing the button.
A second connector is fitted to the unit which allows the timed cycle to be started by an external pushbutton. This means that the unit could be started by, say, down elevator.
For convenience, the second plug (see above) can be connected to a standard battery (or the ESC). This allows a servo to be connected to the ESC lead so that the operation can be more easily observed without having to start a motor. The servo position indicates the motor speed.
Each part of the sequence can be selected by a coded sequence of pushes on the button. The time is then set by another push. To speed up the process, the main timed period is set to 10 times the period between pushes. This is necessary because the maximum period is 1000 seconds (16 min 40 secs).
Jean-Marie's full programming instructions can be found here.
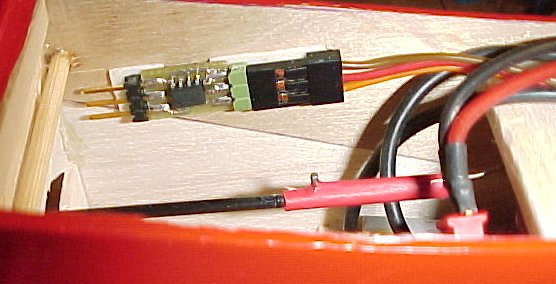
The timer installed in my electric C/L model.
